Buy Coffee Online: Speciality Coffee Roasters UK
We’re speciality coffee roasters obsessed with all things coffee.
We love it all, from sourcing the very best beans to roasting, profiling, and, of course, brewing coffee to perfection. We’re also pretty fanatical about getting your order roasted and posted the very same day so you can enjoy the freshest roasted... Read more
Buy Coffee Online: Speciality Coffee Roasters UK
We’re speciality coffee roasters obsessed with all things coffee.
We love it all, from sourcing the very best beans to roasting, profiling, and, of course, brewing coffee to perfection. We’re also pretty fanatical about getting your order roasted and posted the very same day so you can enjoy the freshest roasted coffee available to humanity!
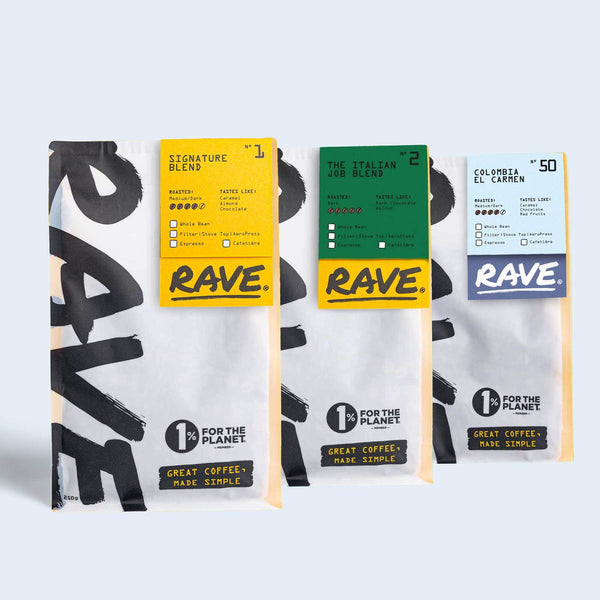
We're always searching the world for the most exciting coffees that we think you’ll love. We sustainably source beans from all the world’s best coffee regions, including Brazil, India, Mexico, and more. With an ever-changing and evolving lineup of coffee, there really is something for every coffee lover.
Whether you’re an espresso enthusiast or a filter fanatic, we have it all: speciality coffee blends, single-origin, organic coffee or rare micro lots. Also, If it’s pods, decaf, or syrup that floats your boat, that’s fine with us, too. We serve great coffee, not moral judgment.
And as wholesale coffee suppliers we can meet your bulk coffee needs too.
Read less